


4 Tips for In-Season Spreader Maintenance
Created March 21, 2020
When winter hits, hopefully you’ve already prepared by conducting a preseason maintenance program on your spreader. The oil change, greasings and wear part replacements leading up to the season are always well worth the effort to help ensure all your time is spent in the field and not in the shop.
However, when the snow season gets going, the maintenance program shouldn’t come to a halt. Instead, routine maintenance should be kept up throughout winter. Although many contractors claim there isn’t time for this during the busiest time of year, think about how much more time might be spent trying to fix problems in the middle of a storm. Considering the importance of a spreader and the number of times it’s used throughout the winter, there is simply no room for this kind of downtime.
Fortunately, there isn’t a huge laundry list when it comes to keeping up spreaders. Some units may require more maintenance than others but, in general, there are four simple, yet important, rules to follow.
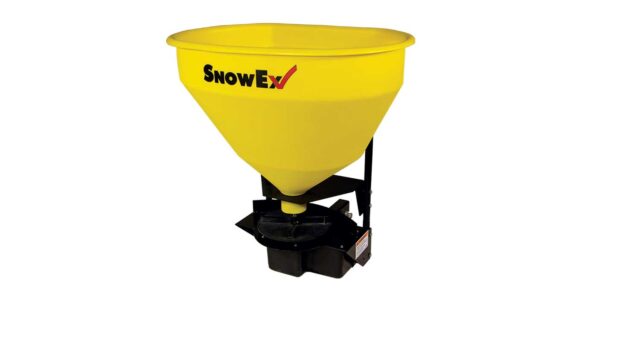
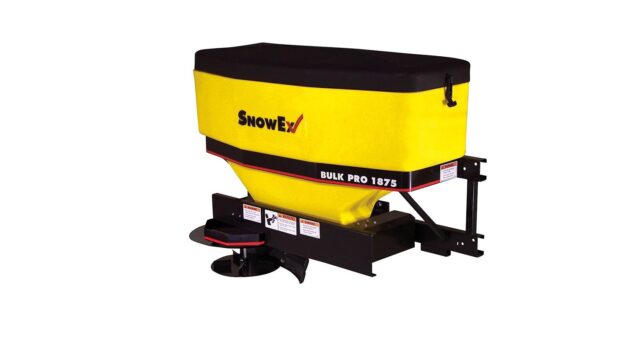
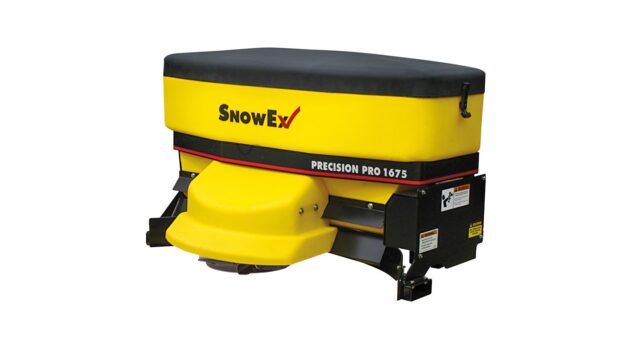
1. Wash Off Salt Residue After Each Storm
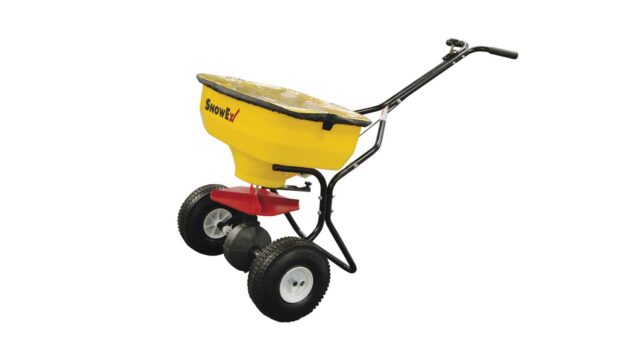
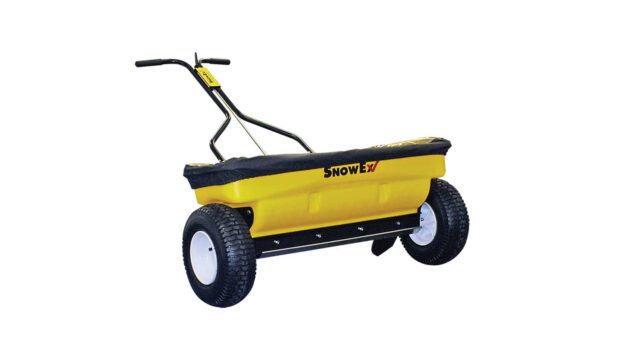
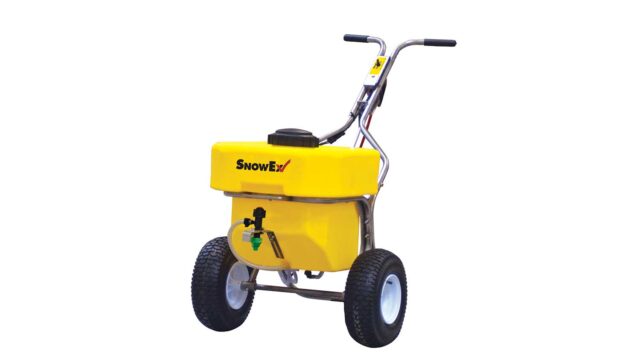
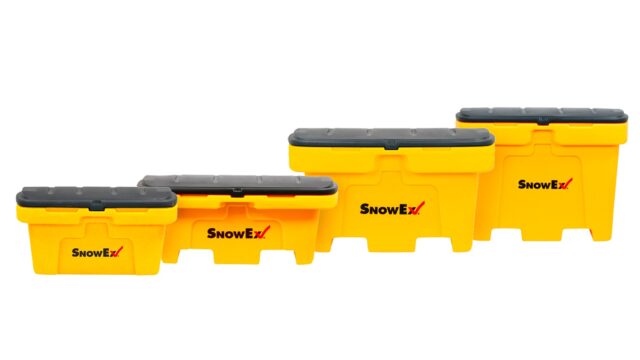
Washing the spreader is the most frequent maintenance requirement, since corrosion is the number one enemy of snow and ice contractors. In fact, a spreader should be washed after every use in order to prevent corrosion from eventually forming. This task is most crucial when dealing with steel hoppers, which are highly prone to rust, but it’s also good practice with polyethylene hoppers, which will never corrode.
For the most part, water is all that is needed to properly clean the hopper, frame and other components. Simply prop the spreader up on its side and hose it out, allowing the water to naturally flow from the hopper, carrying with it any dust, dirt and deicing material. Be careful if using a pressure washer on electric-powered spreaders. Stay at least three feet away from electrical components.
Also, one word of caution when cleaning poly-constructed hoppers — do not use any abrasive or alkaline-based cleaners such as those containing acetone, benzene, leaded gasoline or brake cleaner. These chemicals can damage poly and reduce its structural integrity.
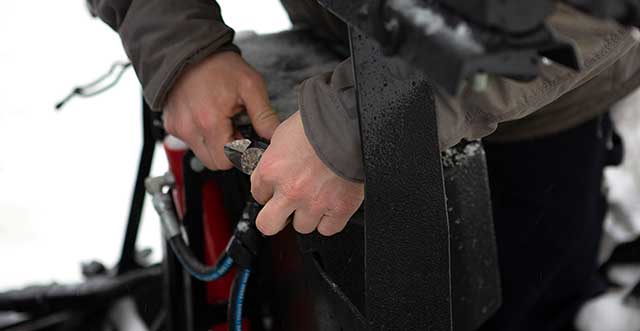
2. Use Plenty of Grease on All Connections
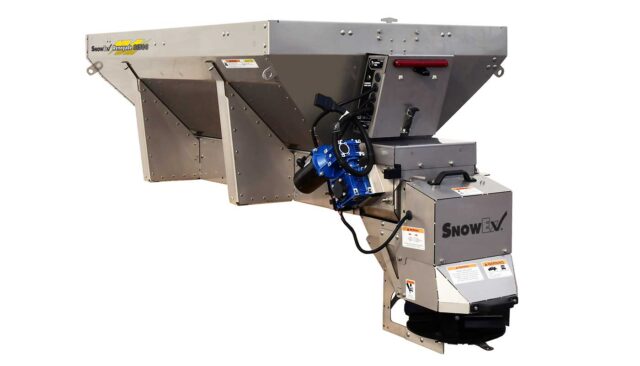
Next on the list is to regularly grease the spreader throughout the season. All moving parts such as bearings, chains, conveyors, rollers, augers and so on should all be lubricated with a good quality multi-purpose grease or oil. The same recommendation goes for any integrated grease fittings. This step is very important, given that all control products are highly corrosive.
Of course, this requirement varies based on the type of spreader being maintained. Some models, such as those that are conveyor fed, require more lubrication based on a greater amount of moving parts. On the other hand, some of the auger-fed spreaders on the market operate with no chains, pulleys, conveyors, etc., and therefore only require a couple areas to be greased to facilitate auger articulation. Refer to the owner’s manual to identify the necessary lubrication points, the amount of lubrication to use, and the recommended frequency of application.
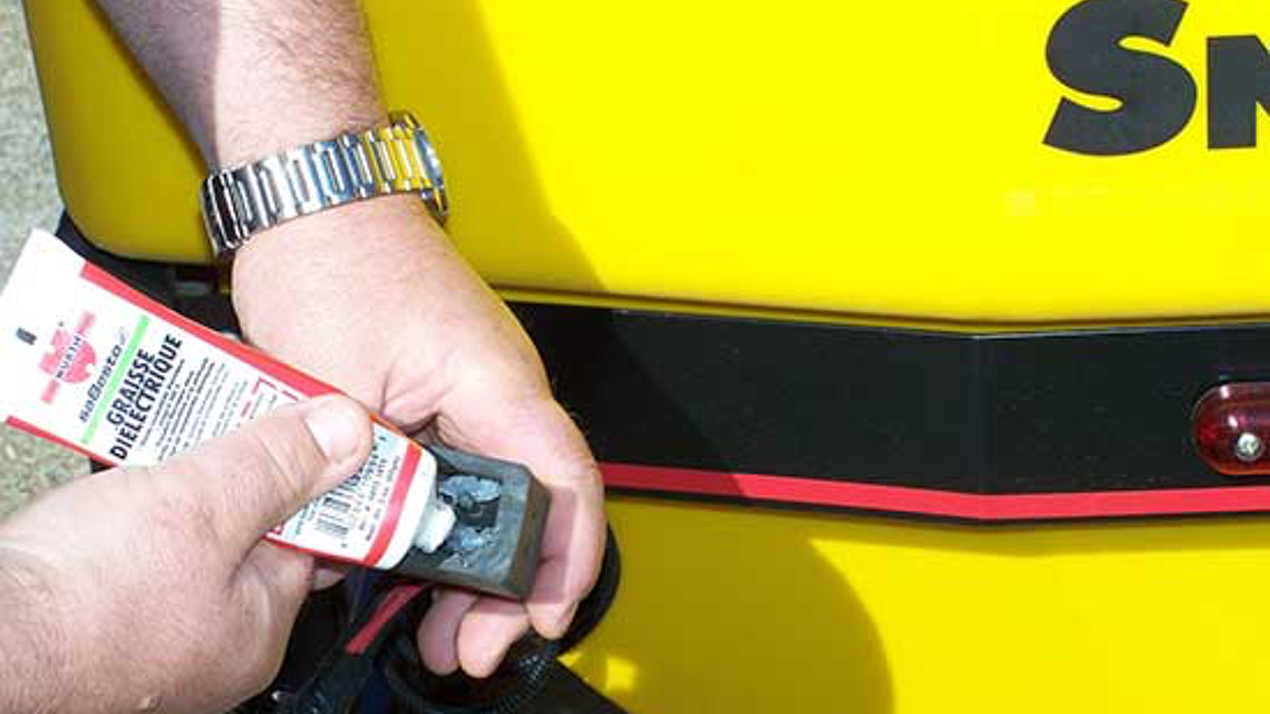
For any electric-powered spreaders or those with electric connections for components, such as lights, all terminals should be applied with a coat of dielectric grease. This helps prevent corrosion and ensures easy reconnection. For best results, one should apply dielectric grease to the terminals anytime they are disconnected.
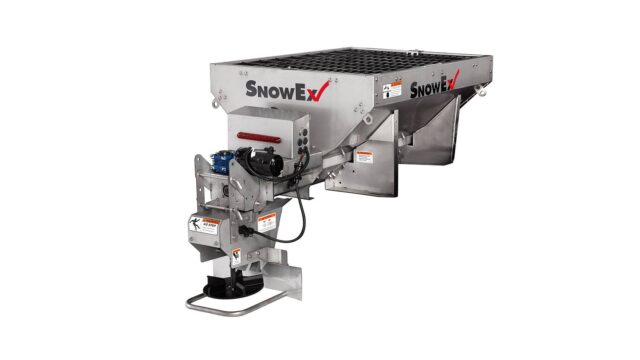
3. Tighten the Spreader Belt & Chains
With any spreader that uses belts, chains or conveyors, the tension should be properly adjusted throughout the winter to reduce slippage and performance problems. How belt and chain tension is adjusted and to what degree is unique to each spreader, and the owner’s manual should be referenced before attempting any modifications. However, some points are universal. First of all, be careful not to overtighten the drive belt or chain, as this could lead to damaging the motor or gearbox bearing. Furthermore, before adjusting conveyor belt tension, make sure that deicing material or sand is not trapped or frozen between the conveyor belt and the surface below.
If the spreader doesn’t contain a conveyor belt, it likely uses an auger to deliver material to the spinner. In this case, there are no extra belts or chains to tighten.
4. Check the Engine & Hydraulics
Just like any other piece of equipment that operates from a small engine, all gas-powered spreaders require additional routine maintenance. In fact, these spreaders typically come with a separate engine owner’s manual, which provides a maintenance schedule. This will show when to check or replace the oil, air filter, spark plugs and more.
If the spreader is powered by a hydraulic system, the hydraulic fluid will also need to be changed periodically. Be sure to use fresh, clean hydraulic fluid of the proper type and viscosity as recommended by the pump manufacturer. Once this is completed, check the hoses and fittings for possible damage or leaks and repair/replace as necessary. Finally, cap the hydraulic connectors to prevent system contamination.
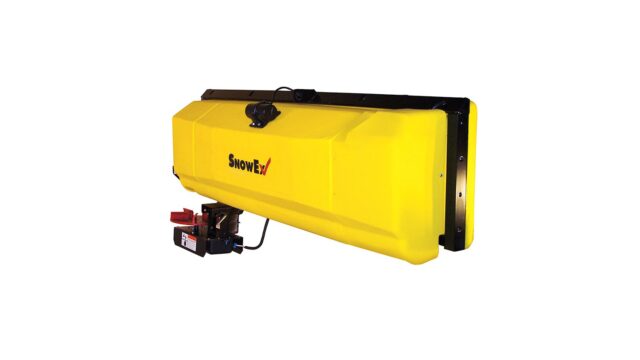
In addition to gas- and hydraulic-powered spreaders, there are also spreaders on the market that are completely electric-powered. These units require virtually no extra maintenance beyond regularly greasing the fittings.
Although these four maintenance checks are far from sophisticated, they’re easy to forget in the middle of winter. Contractors often feel there are more important things to do, rather than take a few minutes to grease all the fittings on their spreader. After all, time is money. But considering a breakdown can cost hundreds of dollars through repair and lost time – not to mention potentially damaging a customer relationship – a solid maintenance schedule is well worth the time.